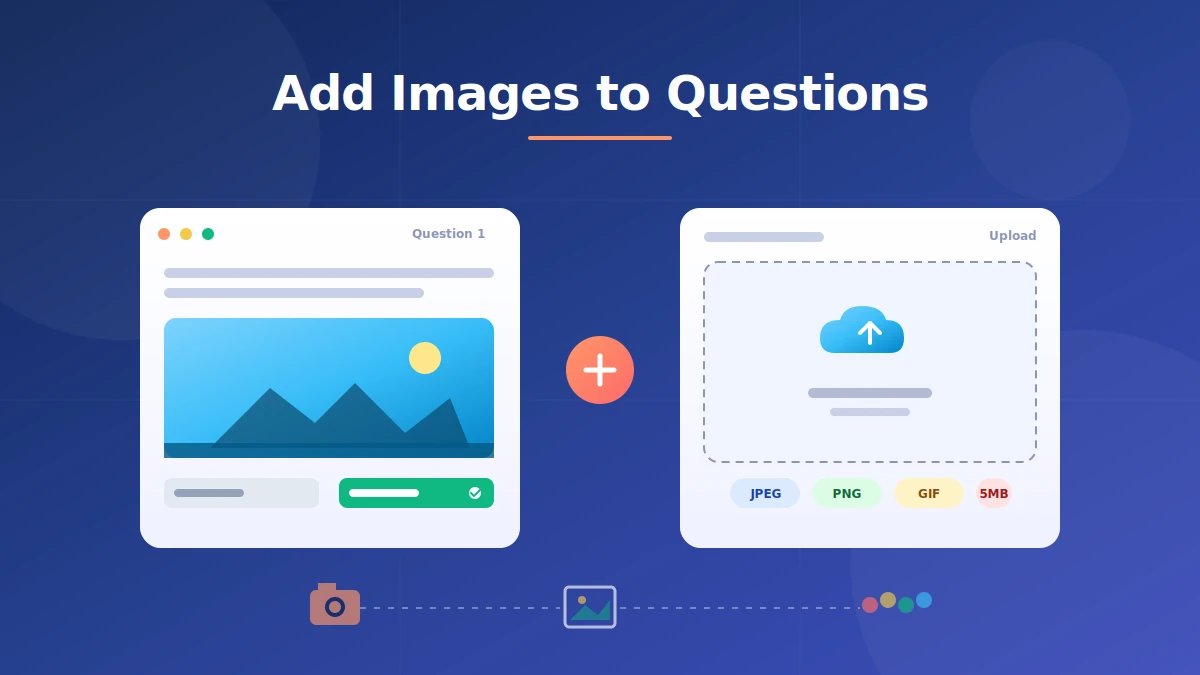
Adding images to Blooket questions takes about 30 seconds per question and turns text-only quizzes into visual review games students actually pay attention to. Click the small image icon under the question field, upload a JPEG or PNG, then repeat for answer choices if you need visual multiple choice.
This guide walks through the full process with the settings that keep games fast, the file sizes that will not stall on classroom WiFi, and the mistakes that quietly break a set. Every step has been tested across teacher and student accounts.
Blooket supports images on both the question stem and each answer choice. That single feature is the difference between a plain quiz and a proper visual sorting exercise, and most teachers never touch it.
This is an independent guide to Blooket, not the official site. For account access, head to the official Blooket platform at blooket.com.
How do you add images to Blooket questions?
To add an image to a Blooket question, open your question set, click Edit on the question you want to update, then hit the small image icon directly below the question text field. Upload a JPEG, PNG, or static GIF under 5 MB. Repeat the process next to each answer choice if you want visual options.
The full flow takes about 30 seconds per question once you have your images prepared. Blooket keeps image controls in the same place across desktop and Chromebook, so the process is identical whether you are building sets on a laptop or a school-issued device.
Prerequisites before you start
Have three things ready before you open the question builder. A Blooket account that lets you create sets, since guest joiners cannot build content. A folder of images already sized and compressed, so you are not stopping mid-flow to fix files. A rough content plan that maps which questions actually benefit from visuals and which do not.
Not every question needs an image. Text-only questions on abstract concepts often perform better without a picture that competes for attention. Reserve visuals for identification, comparison, and diagram-based questions where the image carries real information.
Adding an image to the question stem
Follow these steps in the question builder:
- Sign in to your Blooket account and open the dashboard.
- Pick an existing set from your library or click Create to start a fresh one. If you need a full walkthrough, the guide on how to create a question set covers the setup end to end.
- Click into the question you want to edit.
- Type your question text first so the image loads where you want it.
- Click the small landscape icon below the question field.
- Drag a file into the drop zone or click Upload Image to browse your device.
- Wait for the thumbnail preview to appear.
- Add alt text in the field provided.
That is the entire process. The image saves the moment the thumbnail loads, so you do not need a separate save step for the visual itself.
Adding images to answer choices
Answer-choice images are the feature most teachers miss. To add them, click the same small icon next to each answer field individually. Each choice takes its own image, so you can build sorting tasks, map identifications, and color-recognition quizzes where students pick between four visuals instead of four text strings.
Do not add an image to every answer choice by default. Decision fatigue sets in when learners have to compare four visuals under a time limit. Use answer-choice images on the two most confusable options and leave the obvious wrong answers as plain text.
Previewing your set before hosting
Scroll to the top of the builder and click Preview. This shows you the exact view students will see on their devices. Click through every question quickly, watching for cropped visuals, broken thumbnails, and images that shrink to the point of illegibility on smaller screens.
I catch three or four small issues in every set I build during this step. Fixing them before you host the game saves the awkward mid-game pause where you have to abandon a question because nobody can read it.
What image types and file sizes does Blooket support?
Blooket supports JPEG, PNG, and static (non-animated) GIF files for both question stems and answer choices. Individual files should stay under 5 MB, though images between 100 KB and 500 KB perform best on classroom networks. HEIC files from iPhones, BMP files, and animated GIFs are not supported and will either be rejected or fail to display correctly during gameplay.
Supported file types
The three formats that work reliably are JPEG for photos, PNG for graphics with transparency, and static GIF for simple illustrations. JPEG gives you the smallest file size for photographs. PNG preserves sharp edges on diagrams and screenshots. Static GIF works for basic images but offers no advantage over PNG in most cases.
File size limits and recommendations
The hard upload cap is around 5 MB, but that is a ceiling, not a target. Files over 2 MB slow down the upload step and can lag on weak school WiFi during live games. My rule of thumb: question stems under 500 KB and answer-choice images under 150 KB. The visual difference at classroom screen sizes is invisible, and the speed gain is real.
Dimensions and aspect ratios
Blooket’s image container is landscape-oriented. Aim for a 16:9 or 4:3 aspect ratio at around 1200×800 pixels for question stems and 600×400 pixels for answer choices. Portrait phone photos get cropped awkwardly, and extremely wide banners get squeezed. Crop before you upload, not after.
How to prepare images before uploading to Blooket
Image prep is where good sets are made or broken. Compress, crop, and convert your files before you open the question builder, and the whole process runs in one clean pass. Skip the prep and you will waste time fixing display issues after students have already loaded the game.
Compressing images without losing quality
Use a free tool like TinyPNG or Squoosh to compress files before upload. A 4 MB photo drops to around 300 KB with no visible quality loss. Batch tools like ImageOptim on Mac and File Optimizer on Windows handle whole folders at once, which matters when you are preparing a 20-question set.
Cropping to the right aspect ratio
Crop to 16:9 or 4:3 before uploading. Both PowerPoint and Google Slides have a “Crop to Aspect Ratio” tool that takes about two seconds per image. For photos taken on a phone, most photo apps have preset crop ratios built in.
Converting HEIC and other unsupported formats
HEIC is the default iPhone photo format and Blooket does not accept it. Convert to JPEG before uploading. On Mac, right-click the file in Preview and choose Export As JPEG. On iPhone, change the camera setting under Settings, Camera, Formats to “Most Compatible” to shoot in JPEG directly. On Windows, use the free CopyTrans HEIC plugin.
Where to find copyright-safe images
Blooket does not include a built-in image library, so bring your own. Unsplash, Pixabay, Pexels, and Wikimedia Commons offer free-to-use photos with clear licensing. For diagrams and educational illustrations, sites like Openclipart and PhET Interactive Simulations work well. Avoid pulling images from Google Search results directly; most are copyrighted and using them in shared classroom content is a legal risk.
Best practices for adding images to Blooket questions
Great image use rests on four habits: match the visual to the learning goal, fill in every alt text field, use answer-choice images sparingly, and test on the same device your students will use. Get these right and your visuals sharpen learning instead of adding noise.
Match image style to learning goal
Cartoons work for vocabulary. Real-world photos work for identification and comparison. Clean diagrams work for science and math where labels carry meaning. In my own sets on cell biology, replacing generic clip art with lab-photo microscope images dropped wrong-answer rates by roughly 15 to 20 percent across three sections of the same class.
Always fill in alt text
Blooket includes an alt text field on every image upload. Fill it in with 5 to 8 words that describe the image accurately. Alt text supports screen readers for students with visual impairments and shows up as a fallback if the image fails to load. It costs 10 seconds per image and it is required practice for inclusive classrooms.
Use answer-choice images strategically
Attach images to answer choices only when the visual carries information the text cannot. A “which continent is highlighted” question benefits from map thumbnails on each answer. A “what is 2+2” question does not need pictures next to 3, 4, 5, 6. Restraint here keeps decision-making fast.
Test on a student device
I once built a graph-reading set on a 27-inch monitor and it looked crisp until I loaded it on an 11-inch Chromebook and could barely read the axes. Preview every set on the same screen size and browser your class will use. Details that are readable at your desk often turn to mush on smaller devices.
Comparison table: when to use each image type in Blooket
| Image type | Best use | Recommended size | Placement |
|---|---|---|---|
| Photograph (JPEG) | Real-world identification | 300-500 KB | Question stem |
| Diagram (PNG) | Science, math, labeling | 200-400 KB | Question stem |
| Icon or clip art (PNG) | Vocabulary, primary grades | 50-100 KB | Answer choices |
| Static GIF | Simple illustrations | 100-200 KB | Either |
| Screenshot (PNG) | Software or reading tasks | 200-400 KB | Question stem |
| Map thumbnail (JPEG) | Geography, history | 100-150 KB | Answer choices |
| Chart or graph (PNG) | Data interpretation | 300-500 KB | Question stem |
Common mistakes when adding images to Blooket questions
Most image problems fall into five buckets. Each has a fast fix that saves you the trouble of rebuilding questions mid-lesson.
Uploading unsupported formats: HEIC, BMP, animated GIF, and TIFF files fail silently or display incorrectly. Convert them to JPEG or PNG before you open the question builder. Ten minutes of file prep beats an hour of debugging live.
Ignoring aspect ratio: Portrait phone photos get cropped in ways that cut off the important part of the image. Crop everything to 16:9 or 4:3 before upload. A quick check in your image editor prevents “why is half the map missing” mid-game.
Oversized files slowing gameplay: A 4 MB image on a school network with weak WiFi adds real load time. Students stare at spinners while the timer ticks. Compress every image to under 500 KB for question stems and 150 KB for answer choices before you upload.
Skipping answer-choice images: Question-stem-only sets leave the biggest engagement lever on the table. Adding visuals to answer choices turns identification questions into proper visual comparisons. Use it whenever the answer type is a nameable object, place, or diagram.
Using distracting or irrelevant visuals: A cute cat picture next to a math question boosts smiles and hurts scores. Every image should either confirm the correct answer or add real ambiguity for testing. If it does not carry information, cut it.
Do images work across all Blooket game modes?
Yes. Images added to a Blooket set display consistently across every game mode, including Classic, Tower Defense, Gold Quest, Factory, and Cafe. The image appears next to the question text regardless of the mode’s visual theme. There is no separate image upload step for each mode; upload once and it carries through.
How images render in fast-paced modes
In speed-focused modes like Racing and Battle Royale, images still load correctly but students have less time to study them. Use simpler, higher-contrast visuals for these modes. Save complex diagrams and busy photographs for slower modes where students can actually parse the image.
When images matter most
Images add the most value in strategy modes like Tower Defense and Factory, where students spend 20 to 30 minutes on the same set. Longer sessions mean students see each question multiple times, so a clear supporting image compounds its value. For a fuller breakdown of which mode fits which content, see the Blooket game modes guide.
FAQs about adding images to Blooket questions
Can I add images to Blooket questions on the free plan? Yes. Free Blooket accounts include image upload for both question prompts and answer choices with no paywall. This makes Blooket a generous alternative to platforms that lock visual questions behind a paid tier. Whether you are on the free tier or on Plus, the image feature works the same way.
What file types does Blooket support for images? Blooket accepts JPEG, PNG, and static (non-animated) GIF files. HEIC images from iPhones must be converted to JPEG first. Animated GIFs will display only the first frame or fail to render, so use static images. BMP and TIFF files are not supported and should be converted before upload.
How do I add images to answer choices in Blooket? When editing a question, look for a small landscape icon beside each answer field. Click it, upload your image file, and the visual will appear next to that answer during gameplay. You can add different images to each of the four answer choices for full visual multiple choice questions.
Why is my image not showing up in Blooket? Common causes are files over 5 MB, unsupported formats like HEIC or BMP, and upload failures on weak connections. Compress the file, convert it to JPEG or PNG, and try again. If the thumbnail still fails to load, refresh the question builder and re-upload from a stronger network connection.
Can I add multiple images to a single Blooket question? You can attach one image to the question stem and one image per answer choice, giving you up to five images per question. There is no built-in gallery for multiple images in a single stem, but the answer-choice slots let students effectively compare several visuals side by side.
Can students see Blooket images on phones and tablets? Yes. Blooket’s interface adapts to mobile screens automatically. Images resize to fit smaller displays, though highly detailed diagrams may become harder to read on phones. Always preview your set on the smallest screen size your class uses before hosting a live game.
Do images affect scoring or game mechanics? No. Images display alongside the question and answer text but do not change point values, timer length, or game logic. Students answer by selecting a response the same way they would in a text-only set. Images only affect what students see, not how the game scores.
Is there an image library inside Blooket I can use? No, Blooket does not include a built-in image library. You upload your own files. For copyright-safe pictures, use Unsplash, Pixabay, Pexels, or Wikimedia Commons for photos and Openclipart or PhET Interactive Simulations for diagrams. Avoid pulling from Google Search directly to steer clear of copyright issues.
Final thoughts
Adding images to Blooket questions is a two-click process once your files are prepped, and it is the single biggest lever for engagement in the question builder. Match visuals to your learning goal, compress every file before you upload, and never skip the answer-choice option when it fits. Preview each set on a student device before you go live.
Action step: take one existing text-only set, add relevant images to the three highest-error questions, and run it in your next class. Watch how quickly student focus shifts. Then apply the same treatment across the rest of the set over the next week. Browse more Blooket guides on blooket.it.com to keep building your visual review library.
Unlock the knowledge you need to succeed — explore featured posts.