Teachers and students often face challenges when sharing or submitting educational videos due to large file sizes and limited platform storage. Efficiently minimizing file size without compromising clarity or audio reliability is essential for collaborative learning environments. Practical strategies and technical know-how can address common pain points while ensuring that classroom materials remain accessible for everyone.
As video becomes an integral part of modern classrooms, finding a balance between manageable file size and sufficient quality is vital for group projects and remote assignments. Large videos from screen recordings, mobile footage, or multimedia projects create obstacles, especially when sending large files is necessary for collaboration or assessment. Knowing the right export settings and making smart editing choices can make sharing educational videos much smoother. This article offers actionable guidance to help you create more efficient classroom videos and avoid the most frequent issues encountered with overly large files.
Why video files can grow quickly in class projects
Educational videos often come from diverse sources, including screen capture software, basic phone cameras, and exported presentations. Mixing these sources or using high default recording settings can create unexpectedly large files, particularly when students are encouraged to incorporate different types of media in their assignments.
In group settings, large video files can disrupt workflow by making uploads slow and consuming device storage. This often results in friction when students submit work online or collaborate using cloud platforms.
File size becomes a significant concern and can lead to delays, incomplete submissions, or playback issues on devices with limited capabilities. Even classroom devices like Chromebooks and tablets sometimes struggle to handle or play back larger files efficiently.
Common file sharing methods can fail or stall when videos are oversized, making it harder for teachers to access and review projects in a timely manner. Some students may be unfamiliar with the technical reasons for file bloating and often export at maximum settings out of caution.
This contributes to platform bottlenecks and can complicate the process of sending large files for assignment submissions or peer review, affecting the classroom experience.
Understanding the balance between quality and compression
Every video is shaped by technical choices, usually described as the quality triangle: resolution, bitrate, and frame rate. Choosing higher numbers for all three leads to bigger files, but viewers rarely need ultra-high settings to clearly see slides or follow lecture recordings in an educational context.
Resolution determines how sharp your video appears. Full HD (1080p) is often more than enough, while 720p or even 480p can still deliver readable text and smooth motion for many classroom uses, especially on smaller screens.
Frame rate controls how many images appear each second. For talking-head or screen-capture videos, 24 to 30 frames per second is standard; higher frame rates are only necessary for fast-moving demonstrations or animations.
Bitrate represents the amount of data processed for each second of video. Raising bitrate far above typical recommendations rarely increases visible quality for educational videos, but it does make files much larger, which can be problematic for sharing or playback.
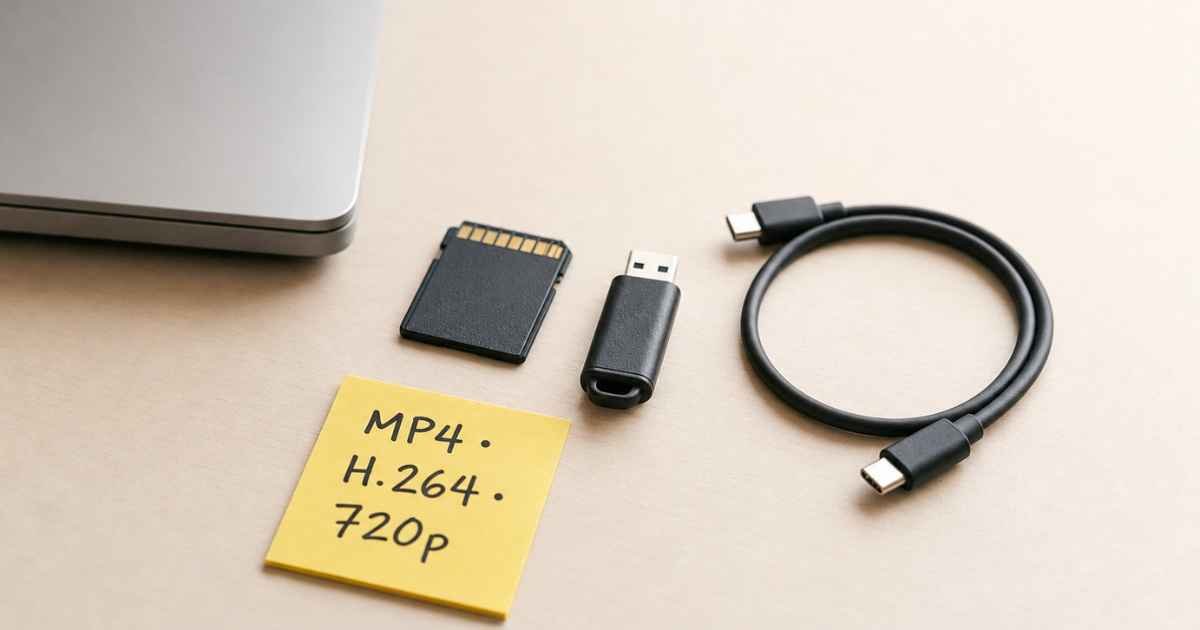
Recommendations for export settings, formats, and codecs
Choosing the right export format is an important step for reducing educational video file sizes. MP4 is widely supported across platforms, while H.264 and H.265 codecs provide efficient compression without a noticeable loss of clarity for most classroom content.
You can further reduce size by selecting a lower resolution when the video will be viewed mainly on laptops or tablets. Instructing students to export at 720p or 480p is usually sufficient for slideshows, whiteboard content, and lecture footage; this step alone can often significantly reduce file sizes.
Setting your frame rate between 24 and 30 fps minimizes wasted space for slide recordings and most instructor-led videos. Save higher frame rates for content with notable movement, such as science experiments or demonstrations.
When exporting, review your file’s final size and check that playback quality remains clear. Testing your video on more than one device is a good practice to ensure it looks and sounds as expected for both teachers and students on various hardware.
Practical editing moves for smaller classroom videos
Before using compression tools, trimming unnecessary footage is a simple way to reduce video file size. Removing repetitive takes or extended pauses makes content more concise and easier to review, which is especially helpful for group assignments where every second is not essential.
Consider limiting background music or elaborate visual overlays in educational projects, as these additions can increase file size and may make videos harder to follow. Using straightforward visuals keeps attention on the core lesson and both audio and video elements clear and efficient.
Dividing lengthy assignments into shorter, modular video segments makes them easier to upload and organize. Assigning group members specific modules helps distribute the workload and lowers the likelihood of single, oversized files causing delays.
Making these editing decisions early, instead of compressing after content is finalized, typically produces cleaner results and reduces the risk of visible artifacts or dropped audio, which could undermine the educational value of the video for all viewers.
Audio settings, device compatibility, and safe sharing
Audio quality often has greater impact than video sharpness in educational recordings, especially when clear speech is the primary goal. Recording in mono instead of stereo reduces file size while maintaining clarity for voice content, making playback clearer on a wider range of devices.
Basic audio compression settings can keep speech intelligible, with sampling rates between 32 and 48 kHz typically sufficient for lectures and presentations. By reducing unnecessary background noise and focusing on the speaker’s voice, you create a more effective learning resource that remains accessible at a much smaller size.
Storing and sharing classroom videos requires attention to privacy and compatibility. Avoid displaying personal information in video frames or saving files with identifiable names. Safe sharing habits limit access and help protect student privacy in collaborative educational environments.
Before submission, test playback on multiple devices to ensure all class members and instructors can view the file. File formats like MP4 help prevent playback issues, while consistent export settings minimize surprises and make reviewing assignments more reliable for everyone.
Disclaimer: The information provided in this article is for general informational and educational purposes only. It does not constitute professional technical, video production, or educational advice. Video compression techniques and software settings may vary; readers should test configurations for their specific devices and requirements. The author and publisher disclaim all liability for any data loss, quality issues, or other consequences arising from reliance on this content. Always follow institutional guidelines for sharing and submitting classroom materials. Respect copyright and privacy when editing and distributing educational videos.
Feel like you’re winging it? Swap that with our step-by-step blueprints that eliminate doubt.