Most homes have one. A spare bedroom that’s become a storage dump, a home office that never quite got organized, a converted garage space that’s mostly just full of boxes. It’s the room everyone means to deal with eventually and rarely does.
For collectors, that same overlooked room represents an opportunity most people don’t think to take. With the right approach, an underused space can become a genuinely impressive display room — somewhere that actually shows off what you’ve collected, rather than burying it in boxes or scattering it across shelves throughout the house.
Choosing the Right Room
Not every spare room is equally suited to the job. The best display spaces have consistent, controllable lighting — north-facing rooms tend to avoid the harsh direct sun that can fade finishes and discolor materials over time. Rooms with fewer windows are often easier to work with than sun-drenched ones, since you have more control over the lighting conditions without fighting against natural light all day.
Floor space matters less than you’d think. Even a modest box room can hold an impressive display if the layout is planned properly — a wall-mounted run of shelving built around a scale model of a car collection, for instance, can fit comfortably into a space barely large enough for a single bed, since vertical shelving makes far better use of limited square footage than low cabinets ever will.
Getting the Shelving Right
This is where most home display projects go wrong. Generic shelving units, bought off the shelf without much thought, rarely do justice to anything displayed on them. A proper display setup is about depth, spacing, and backing as much as it is about the shelves themselves.
Glass-fronted cabinets protect against dust while still allowing full visibility — worth the investment if your collection includes anything with fine detail that dust would otherwise settle into over time. Open shelving works better for larger pieces that benefit from being handled or examined closely, though it does mean more regular cleaning.
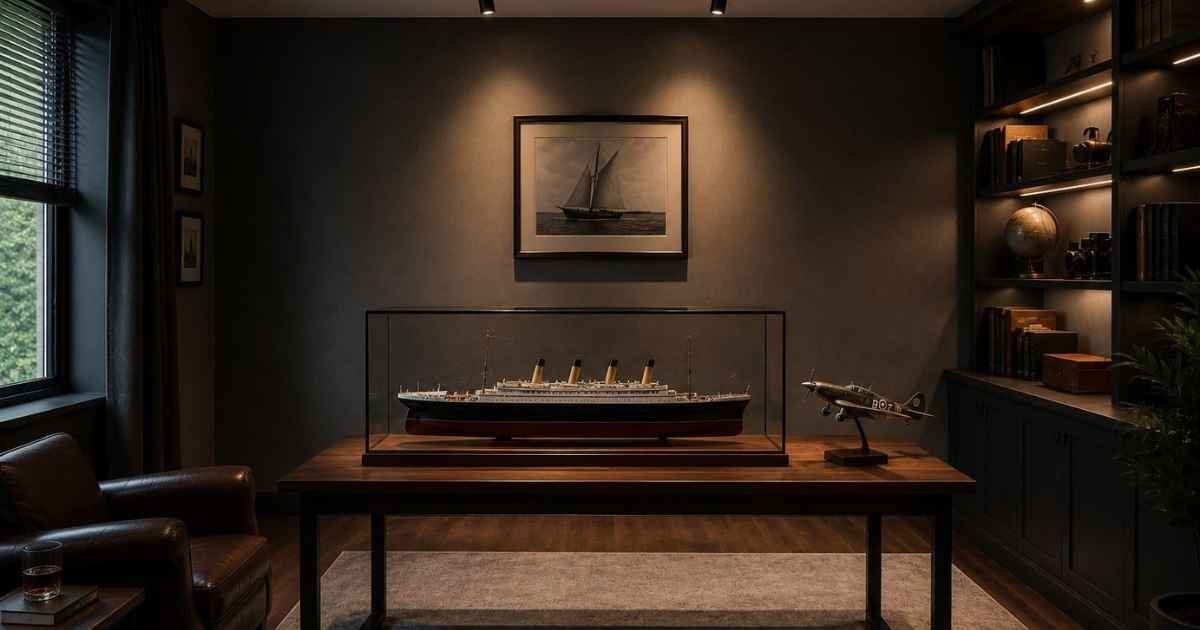
Backing matters more than people expect. A plain white wall behind a display can look flat and uninspired. A slightly darker backing — charcoal, deep navy, or a warm wood tone — makes most collections pop in a way that white simply doesn’t achieve. This is particularly true for a boat model display, where the rigging and superstructure detail tends to disappear against a pale wall but stands out clearly against something darker.
Lighting Makes or Breaks a Display
Overhead room lighting alone rarely does a collection justice. The difference between a display that looks like an afterthought and one that looks genuinely considered usually comes down to dedicated lighting — small LED strip lights along shelf edges, or individual spotlights angled toward specific pieces.
Warm white LED lighting, in the 2700K–3000K range, tends to flatter most materials better than cooler daylight bulbs, which can make finishes look clinical rather than rich. If your collection includes anything with reflective surfaces — glass, polished metal, lacquered finishes — angle the lighting to avoid direct glare washing out the detail you’re trying to show off.
What People Are Actually Displaying
Collector rooms vary enormously depending on what’s being collected, but a few categories show up again and again in home display projects. Automotive collectors and maritime enthusiasts tend to favour the eye-level shelving and dark backing already described above — the detail in both categories rewards a close, well-lit view.
Aviation collectors take a slightly different approach. A scale model plane is often suspended or angled on a small adjustable mounting bracket so it reads as if it’s genuinely in flight, rather than simply set flat on a shelf — a small adjustment that makes a considerable difference to how the piece is perceived in the room.
Flooring and Finishing Touches
Carpet tends to soften a display room in a way that hard flooring doesn’t — though it does collect dust more readily, which matters if your collection has any open shelving. A neutral rug works well as a middle ground if the existing floor isn’t ideal.
Small details finish the room properly: a comfortable chair for actually sitting and appreciating the collection, a side table for catalogues or reference material, and curtains or blinds that let you control light levels through the day rather than fighting with whatever the sun happens to be doing.
Getting Started
The hardest part of any spare room conversion isn’t the design — it’s actually starting. Clear the room out completely first, assess what natural light you’re working with, and build the shelving plan around your specific collection rather than a generic template. The result, done properly, turns a room nobody used into the one everybody wants to see.
Disclaimer: The information provided in this article is for general informational and educational purposes only. It does not constitute professional interior design, renovation, or display advice. Readers should evaluate the suitability of room modifications for their specific home and collection. The author and publisher disclaim all liability for any damage, loss, or unsatisfactory results arising from reliance on this content. Always ensure that shelving and lighting installations are secure and appropriate for your space. Consider consulting a professional for complex room conversions or electrical work.
Explore fresh content that brings value—start reading and move ahead with confidence.