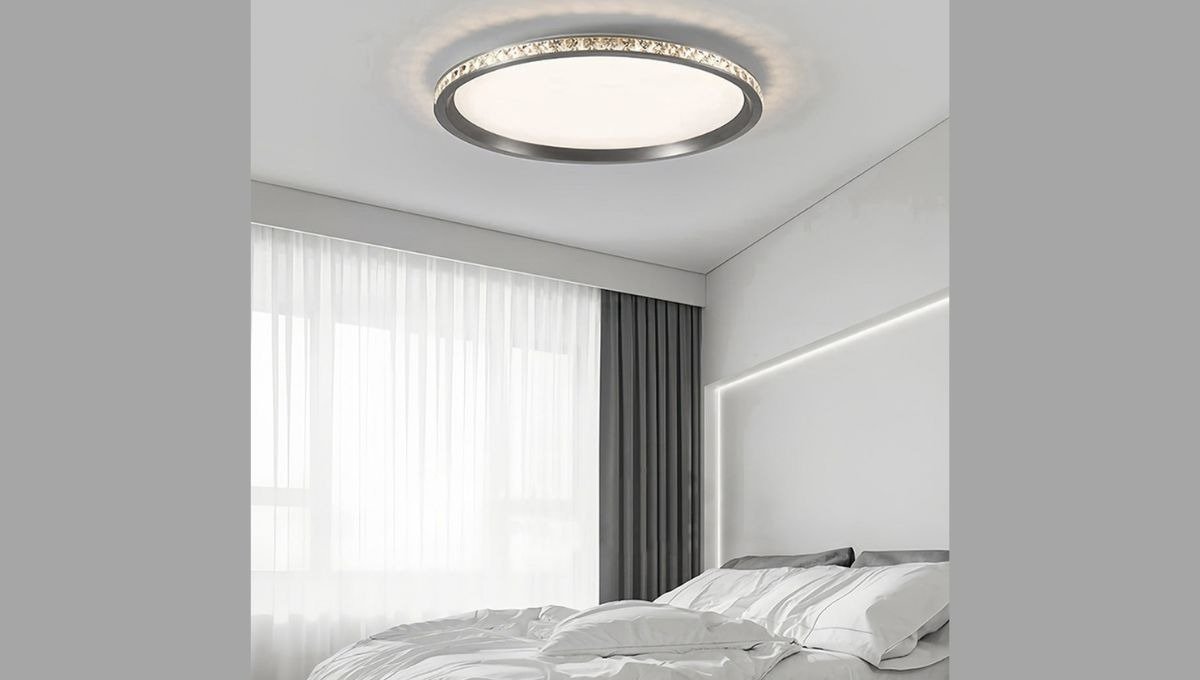
A low ceiling changes the way a room feels. A pendant that looked perfectly reasonable in a showroom can suddenly seem enormous once it is hanging above the breakfast table. In a hallway or bedroom, even a short fixture can create the uncomfortable feeling that something is hovering just above your head.
I learned this after living with a bowl-shaped ceiling light that was technically high enough for everyone in the house. Nobody actually hit it, but taller visitors ducked anyway. The problem was not clearance alone. The dark metal frame and deep glass shade made the entire ceiling seem lower.
Replacing a hanging fixture with a flush mount can give the room some breathing space, but choosing one involves more than finding the thinnest model available. Size, glare, brightness, and even the mark left by the old light deserve attention before the ladder comes out.
Measure the Drop, Not Just the Diameter
Product photos often make a ceiling light look slimmer than it is. Before buying, check the fixture depth—the distance between the ceiling and its lowest point. A difference of two or three inches can be noticeable in a room with an eight-foot ceiling, particularly when the light sits above a walkway rather than a table.
It helps to make a quick cardboard mock-up. Cut a circle or square close to the listed dimensions, tape it temporarily to the ceiling, and add a folded strip of cardboard to represent the depth. It is not glamorous, but it reveals whether a wide fixture will feel balanced or whether its edge will compete with a nearby cabinet door.
Do not automatically choose the smallest diameter. A tiny light in the center of a broad living room can look stranded, while a wider, shallow fixture often feels calmer and more intentional. When comparing flush mount lighting, consider both measurements together: width determines how the light relates to the room, while depth determines how much visual and physical space it occupies.
A broad, shallow fixture can suit a living room without making the ceiling feel crowded.
Look for the “Ghost Ring” Before Removing the Old Light
Older fixtures tend to leave evidence behind. Paint may have faded around the canopy, or several coats may have built up against its edge. Once the old light is removed, you might discover a ring that is larger than the base of the new fixture.
Measure the existing canopy before shopping, especially if repainting the ceiling is not part of the weekend plan. A new base that is slightly wider can cover minor discoloration and old screw holes. If the replacement is smaller, allow time for patching, sanding, priming, and painting. Trying to touch up only the exposed circle often makes the repair more obvious under the new light.
Think About the Room After Dark
A beautiful fixture is disappointing if it leaves the corners gloomy or turns the sofa into an interrogation chair. Check lumen output rather than relying on wattage alone. Also notice how the shade handles the light. Frosted glass and opaque diffusers generally soften the individual light source, while exposed bulbs and clear glass create sharper highlights and shadows.
The activities in the room matter as much as its floor area. A home office needs comfortable light across the desk without a bright reflection on the monitor. A bedroom can tolerate gentler ambient illumination because bedside lamps handle reading. In a kitchen, one central ceiling light rarely provides enough useful light beneath wall cabinets, no matter how powerful it is.
Simple geometry works well in a compact office, where visual clutter can become distracting.
For multipurpose rooms, several modest light sources usually feel better than one extremely bright ceiling fixture. The flush mount can provide general illumination, while a floor lamp, desk lamp, or under-cabinet light handles close work. This approach also makes the room more comfortable in the evening, when full brightness may feel unnecessarily harsh.
Check the Details Hidden in the Product Description
Integrated LED fixtures can be impressively thin because they do not need space for standard bulbs. The tradeoff is that the light source may not be replaceable. Before choosing one, look for information about expected service life, warranty coverage, and whether replacement components are available.
Dimming deserves a closer look too. “Dimmable” should mean the fixture works with a compatible wall dimmer, but some lights use a regular switch to cycle through several brightness levels instead. Those are different experiences. Check the control method and confirm which dimmer type is recommended before an electrician arrives.
Color temperature affects the room more than many people expect. Warm light tends to flatter wood, fabric, and relaxed living spaces. A more neutral light can suit a work area or kitchen where clear visibility matters. If the fixture includes adjustable color settings, decide whether the control remains easy to reach after installation. A switch hidden behind the ceiling canopy is useful during setup, but it is not something most people will want to change every week.
Warm illumination can make a dining area feel relaxed without requiring a low-hanging chandelier.
Use the Right Fixture for Damp Areas
A bathroom ceiling light must be suitable for its exact location. Moisture ratings are not decorative specifications. A fixture near a shower may require a different rating from one installed in a dry hallway, and local electrical rules can affect placement. Do not assume that a sealed-looking shade automatically makes a light appropriate for a damp or wet area.
The same caution applies to enclosed porches, laundry rooms, and other spaces where humidity collects. Check the stated rating and ask a qualified electrician when the location is uncertain.
Plan for What Is Above the Ceiling
The new light may be lightweight, but its mounting plate still needs a suitable electrical box and secure support. Older homes sometimes hide brittle wiring, shallow boxes, or improvised mounting arrangements behind a perfectly ordinary fixture. Turning off the wall switch is not always enough to make the circuit safe.
If the installation involves hardwired connections, unfamiliar wiring, or changes to the electrical box, use a licensed electrician. It is also worth showing the installer the fixture specifications beforehand so there are no surprises involving weight, dimmer compatibility, or ceiling construction.
A successful flush mount is rarely the light people comment on first. Instead, the room simply feels less cramped, the walkway is clear, and the evening light is comfortable. That quiet improvement is exactly why it can be one of the most satisfying changes in a low-ceilinged home.
Disclaimer: The information provided in this article is for general informational and educational purposes only and does not constitute professional electrical, lighting, or home improvement advice. Fixture specifications, electrical codes, and installation requirements vary by location and property. Readers should consult a licensed electrician for installation and verify local regulations. The author and publisher disclaim all liability for electrical issues, property damage, or personal injury arising from reliance on this content. Always turn off power at the breaker and follow manufacturer instructions before any electrical work.
Curated for curious souls: our thoughtfully selected articles reward your desire to learn.