You lean into a familiar switchback, the same one you’ve cleared a dozen times, and this time the front end washes out. It’s not always bad luck. Traction loss on singletrack is usually a sign that something about your setup no longer matches the terrain you’re riding. Tread depth wears down unevenly, pressure creeps out of the ideal range, and rubber compounds harden faster in certain climates than riders expect. Understanding why grip disappears is more useful than simply blaming the trail conditions.
This guide walks through the most common causes of unpredictable traction, from worn knobs to mismatched terrain choices, and lays out practical fixes you can apply before your next ride. Whether you’re riding loose gravel, wet roots, or hardpack, the goal is the same: a tire that behaves predictably when you need it most.
Reading the Warning Signs of Worn Tread
Grip problems rarely appear out of nowhere. Long before a slide-out, the tread has usually been telling you something. Rounded knob edges, flattened center lugs, and small tears near the shoulder blocks are all signs that the rubber has passed its prime for aggressive riding. Once the sharp edges of a knob wear away, the tire loses the biting surface it needs to dig into loose dirt or grab a wet root.
A quick visual check before each ride can catch this early. Run a hand across the tread and compare the height of the center knobs to the side knobs. If they’re close to level, cornering traction has already started to suffer even if the tire still holds air fine on flat ground.
Matching Tread Pattern to Trail Type
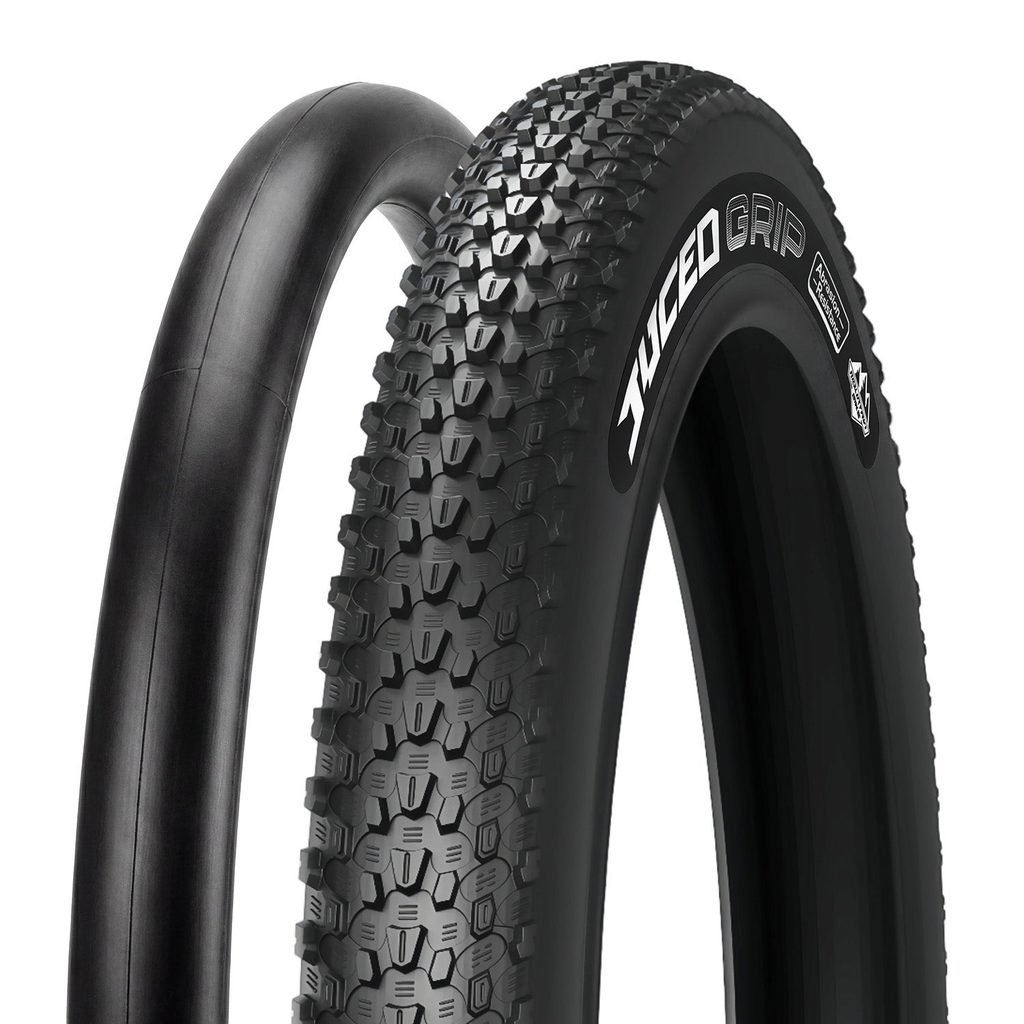
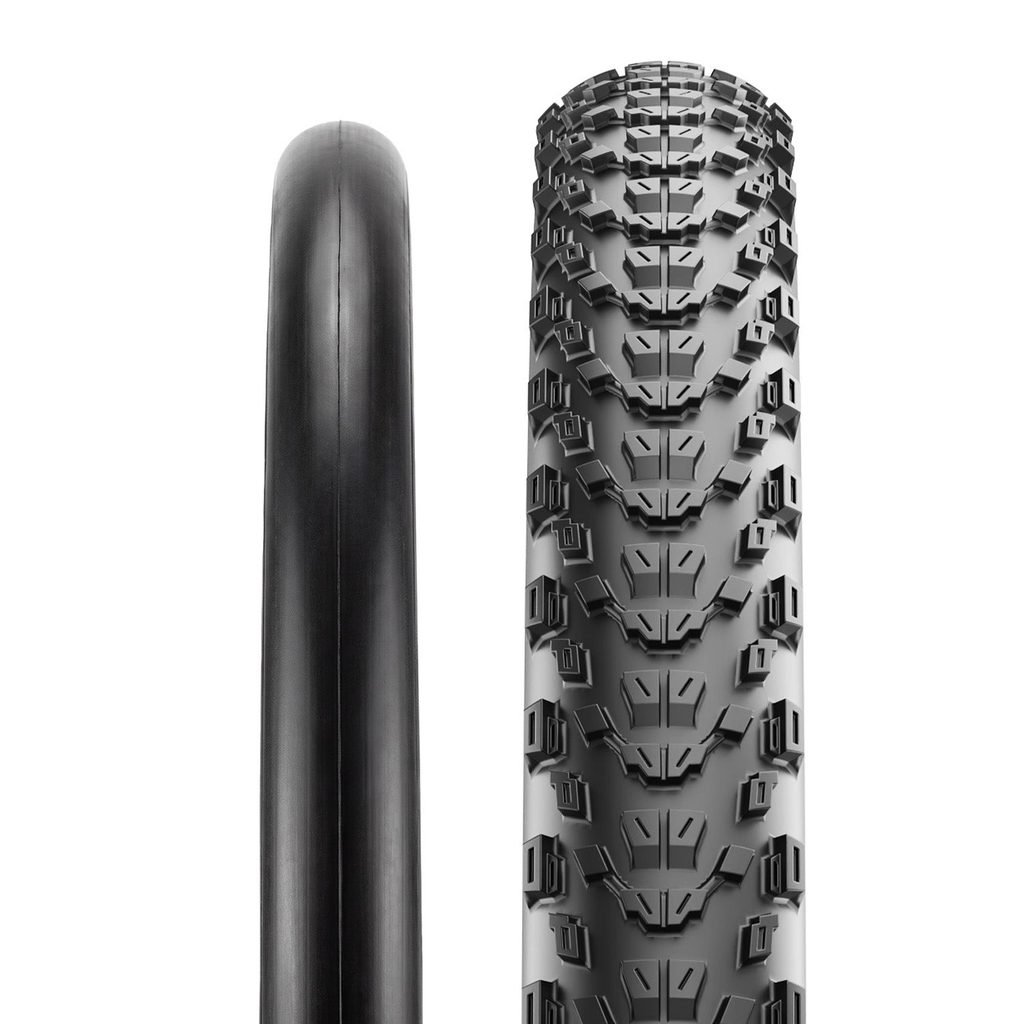
A tire built for hardpack won’t perform the same way in loose, loamy soil, and vice versa. Riders who split time between bike parks and backcountry trails often run into grip trouble simply because one tread pattern is being asked to do two jobs. Widely spaced, tall knobs shed mud and bite into soft ground, while tightly packed lower-profile knobs roll faster and grip better on firm, dry surfaces.
If your local trails change character with the seasons, it’s worth keeping two sets on hand rather than forcing a single pattern to cover every condition. Swapping between them takes a few minutes and saves you from fighting the bike on terrain it wasn’t set up for.
Pressure and Compound: The Two Hidden Variables
Tire pressure gets blamed for plenty of handling issues, and for good reason. Too much air stiffens the carcass and lifts the center knobs away from subtle trail texture, reducing the contact patch exactly when you need it most. Too little air lets the tire squirm under cornering load, which feels like grip loss even though the rubber itself is fine. Finding the right pressure window for your weight, terrain, and tire width takes some trial and error, but it’s one of the fastest adjustments to test.
Rubber compound matters just as much, though it’s less visible. Softer compounds flex around small rocks and roots for better bite, but they wear faster and can feel sluggish on long climbs. Firmer compounds last longer and roll efficiently, at the cost of some outright grip in technical sections. Picking a mountain bike tire with a compound suited to your riding style, rather than defaulting to whatever came stock on the bike, often solves grip issues that pressure adjustments alone can’t fix.
Age and Storage Affect Rubber More Than Riders Expect
Even a tire with plenty of tread left can lose grip if it’s been sitting in a hot garage or exposed to direct sun for long stretches. UV exposure and heat gradually harden rubber compounds, making them less able to conform to trail texture. If a tire feels noticeably harder or glassier than it did when new, age may be the culprit rather than mileage.
Storing bikes indoors, away from direct sunlight, and rotating stock so older tires get used before they sit too long both help preserve the compound’s original flex and grip characteristics.
Building a Setup That Holds Up Under Pressure
Once tread pattern, pressure, and compound are dialed in, the last piece is confirming the setup under real riding conditions rather than just in the driveway. A tire that feels grippy on a slow test lap can still behave differently at speed, under braking, or leaned over in a corner. Testing on a familiar section of trail, at different pressures over a few rides, gives a much clearer picture than a single outing.
Riders who’ve spent time with Juceo tires often note how consistent the grip feels across changing trail moisture, which points to a compound that doesn’t harden or soften unpredictably as conditions shift. That kind of consistency matters more than peak grip in ideal conditions, since most rides involve a mix of dry, damp, and loose terrain in a single loop.
Documenting what works, whether that’s a specific pressure, a tread pattern for your home trails, or a compound that holds up through a full season, turns future tire decisions into a quick reference rather than a repeated guessing game.
Restoring Confidence on Every Descent
Losing traction mid-ride is unsettling, but it’s almost always explainable once you look at tread wear, pressure habits, compound choice, and rubber age together rather than in isolation. Small adjustments in any one of these areas can restore the predictable grip that makes technical trails enjoyable instead of nerve-wracking.
Take the time to inspect your current tires before your next ride, note how they feel across different terrain, and adjust one variable at a time. A setup that matches your trails and riding style will hold its line when it matters, turning uncertain corners back into the confident ones you remember.
Disclaimer: This article is for general informational purposes only and does not constitute professional cycling, mechanical, or safety advice. Tire performance, tread wear, pressure recommendations, compound durability, and grip outcomes vary by rider weight, terrain, climate, tire model, and riding style, and may change without notice. Readers should verify all tire specifications, pressure limits, and manufacturer guidance directly with the tire or bike manufacturer before adjusting their setup. Any mention of specific brands or products does not imply endorsement. The author and publisher disclaim any liability for decisions made based on this content.
Get inspired by ideas you can put into action today—our practical resources turn knowledge into real progress.